Monday, October 30, 2017

Farmhouse Table Old to New


 This was a fun and a very hard project. I went to watch my sisters 7 kids while they went to Hawaii. I decided it would me fun to transform her table and chairs while she was gone. Not only did I have her seven children and one of mine, but it was in the negitives outside. So I froze everytime I went out, I would work on the table till I couldn't take it any longer. This room I worked in was a sun room, I had to have the windows all open and it wasn't a heated room. Thankfully I had this room or there is no way I could have done it...even though the windows were open it cut down on the wind and it was howling the whole week it took me to complete this beautiful farmhouse table makeover.  


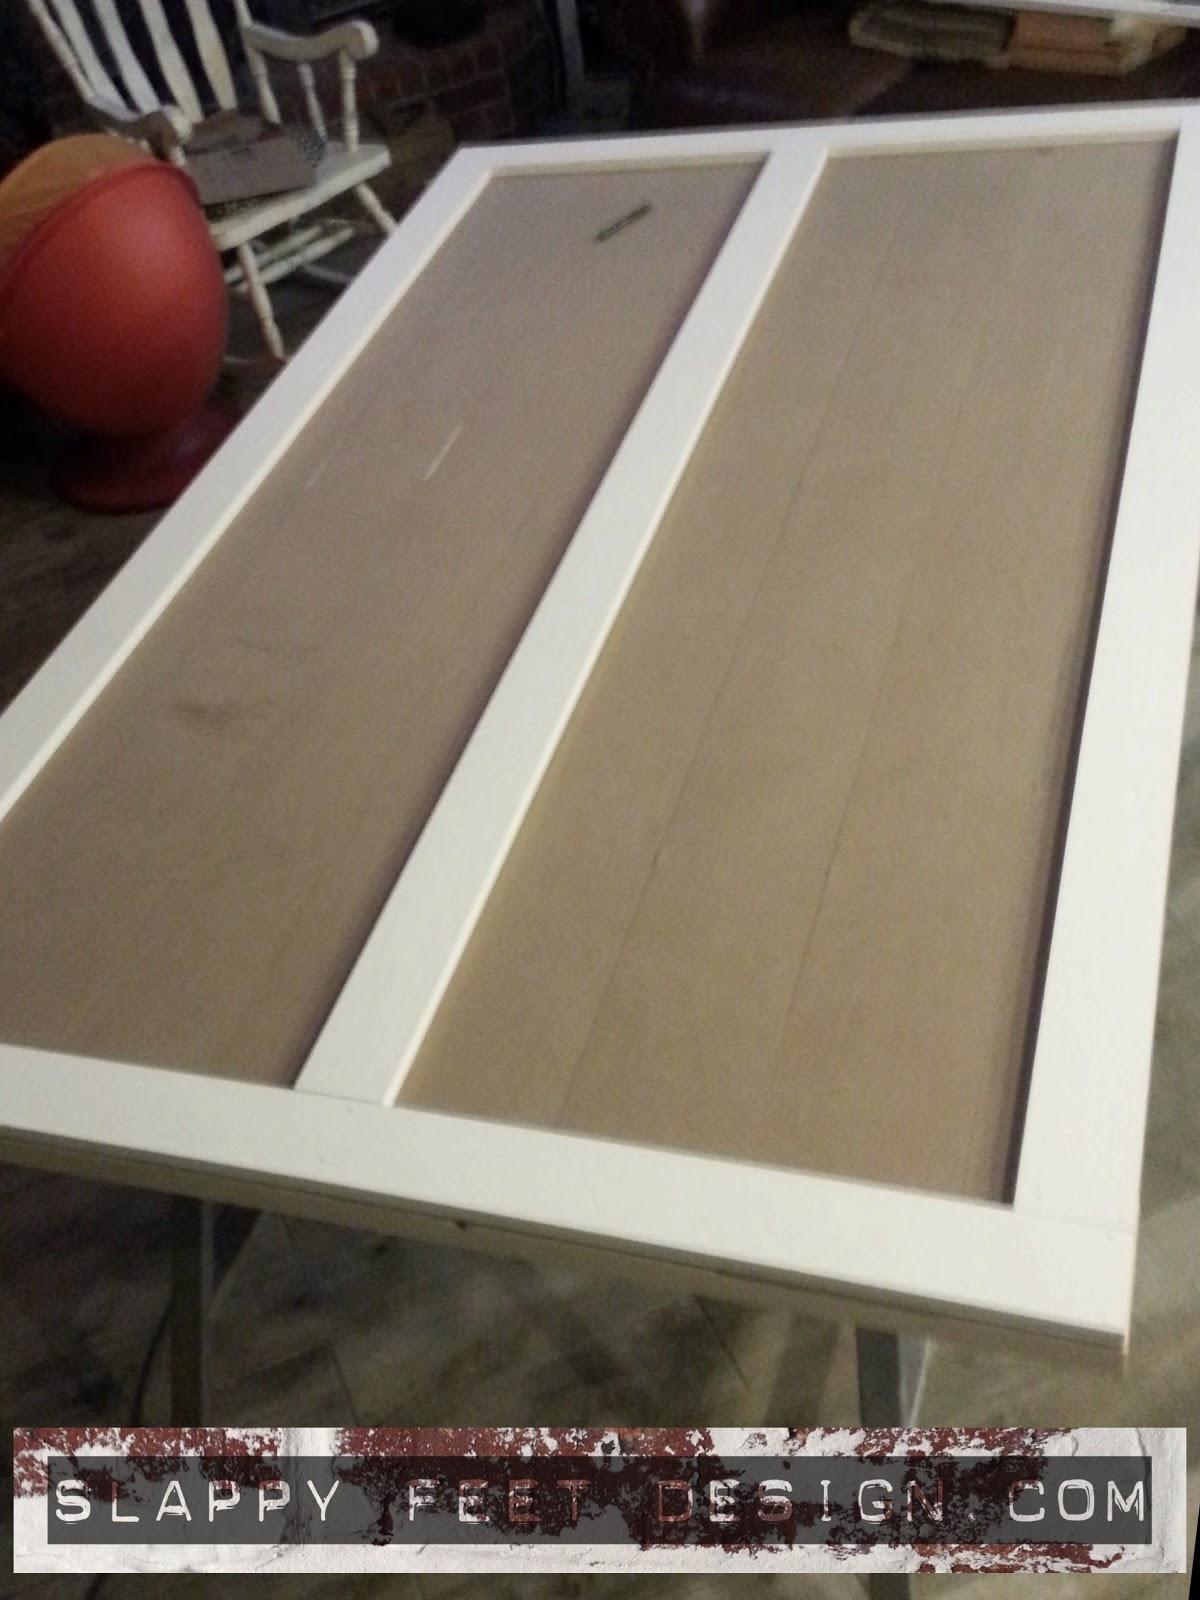
Step one: Sanding...

Oh my this was the hardest table to sand...I would sand and sand and sand, then I would wipe it off thinking, it has to be done...nope still shiny. I did that over and over and over.  It took me 3 of my 7 days to sand. 


Here is my wonderful niece helping me sand. I am such a lucky Aunt.

While sanding I discovered that her "all wood" table wasn't all wood on the top middle...I was devastated! I thought...oh great I just ruined her table...I couldn't even work on it for a day...now I was on day 4 and running out of time! I decided that I had to get it done and hope for the best.


Step 2: Staining

This was fun but I had to wait inbetween coats for it to dry so I was scared I wouldn't finish, especially because the first coat of stain I put on, wasn't dark enough and it actually looked like the finish I just took off...


So I went and bought an amazing stain! I love it it is from Old Masters, I don't seem to have a picture of it...I will try and remember to take one and add it later. 


Now I had this beautiful undercoat... I wanted to have a grey distressed finish so I added a coat of white wash pickling wood stain from Miniwax.


I did drybrush on and wipe off/smear some gray chalk paint in a few areas where wanted a little more grey.  It was beautiful! 

Since the table was gone all week we had so much fun eating picknic style!


...and playing on the chairs!


Step 3: Painting 

I painted the base and legs and all the seats for the bench seat and 6 chairs. I used Rust-oleum chalk paint, color was Serenity Blue. I loved how it turned out! The color looked a lot different after it was sealed.


It was too cold to snow...it only snowed a tiny bit then got super super cold...


We started painting outside, and couldn't take the cold...and it was drying the paint too fast...so we took everything inside.


I had my niece help me! I love these kids so much, it was so fun to do this fun project with them!


Step 4: Distressing


Step 5: Sealing

I was out of time so I did 7 coats of water based polyurethane, because the dry time was a lot faster. Not a good permanent choice...so I had my sister reseal it about 4 months later with a oil based seal. 

I would recommend doing the oil based from the start and put about 7-9 coats.
When staining I put a coat of the poly on, let it dry. After it is completely dry, I lightly sanded, wiped it down. Repeat...7-9 times. 


First meal after bringing the table back in...success! They love it! I hope you love it too! Comment with pictures if you redo your farmhouse table. 


Tuesday, June 20, 2017

Charred wood Molding/Trim


Shou sugi ban is a Japanese method of preserving wood. I just Love the look!
I had looked into this technique and even used it...but I was a little scared and I barely scorched the wood.


I love that look also, but this inspiration came from when I was walking through the woods and I noticed a log that had been in a bonfire over two years ago...it was so beautiful!!! I dragged the log up to our house...I was determined to use it in our bathroom that we were remodeling. Check out my post on Shiplap.
Here is a closeup of that beautiful log!


Sadly my hubby said we couldn't use it because it would crumble. 😢

I just had to have it in my bathroom, so I started from scratch. I got some wood and using the Shou sugi ban method, here is what I did. 
For the above pictures I had used a small hand propane torch. It was painfully slow and took a long time to get it even a little bit charred. 
Sooooo...we bought the Weed Dragon!!! Oh my...talk about crazzzy powerful! I might be a tad bit afraid of fire and that thing is a Dragon!!! Be sure to be far away for anything flammable. I highly recommend fire proof gloves...ask my nine finger husband. 😉 


After torching it, I ran the hose over each piece (which I had close at hand and on!).  You can wire brush them, but I really wanted the charred look.  So I wiped it down pretty good, then let them dry. I sprayed with four coats of polyurethane.  Even with all those coats on it, my hands still had a little black on them when I held it....  Which didn't worry me because its trim and modeling it will not be being handled.  


Here are some close ups....


Gorgeous!

It has a beautiful silver look when the light hits it.


Beautiful right!!!!!

Here are a couple pictures of Cliff cutting the modeling at 45 degree angle.


All that is left is putting it up...  We used a Ryobi brad nailer.


I love, love, love it!!!


What do you think?
Feel free to ask any questions.  If you end up using this method, I would love to see pictures.  Attach your pictures with your comments.
Thanks for stopping by.  Check back in for some more fun with the bathroom and other DIY projects.
Cement sink being one.


Sunday, April 30, 2017

DIY Barn Door


This barn door was our first, and I am in love with it!!! We put this up in our daughters room for her closet.


We used the existing closet door and added 2x6 boards to join them, using pocket holes, and wood glue. 


All the pocket holes have been drilled so now to attach them.


We glued the edge of the board placed on the door then clamped and screwed in the screws.


We added a 2x6 on the top and the bottom and a 2x6 between the two doors to join them, this made it the perfect height and width we were needing to be able to have the door wider and higher then the closet. 


We recruited painters!


This is our daughter Mady, and this is for her room.


We choose to leave the back side just like this, because you will never see it.


For the front...we used the back side of beadboard because we had left over and we liked how thin it was.

We hadn't decided on our design so we took the trim and moved it around till we decided. We measured, placed the boards then nailed them down.


Tada... now to paint.


It turned out so beautiful! Mady loves it!! 

Come back to see the post on diy barn door railing and hardware.

Thanks for stopping by,